The brief:
- Choose a proverb to illustrate
- Create two illustrations, one representing the positive aspect and one highlighting the negative side of the proverb
- Think about the elements you need to tweak to do that
Proverb
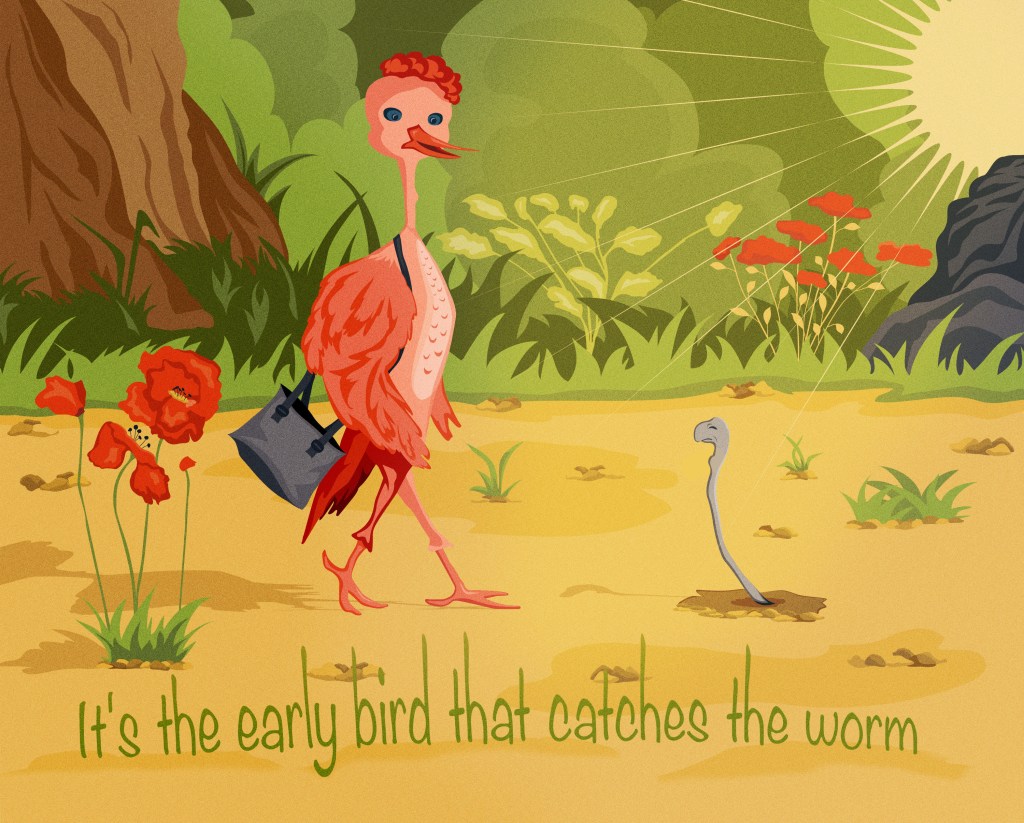
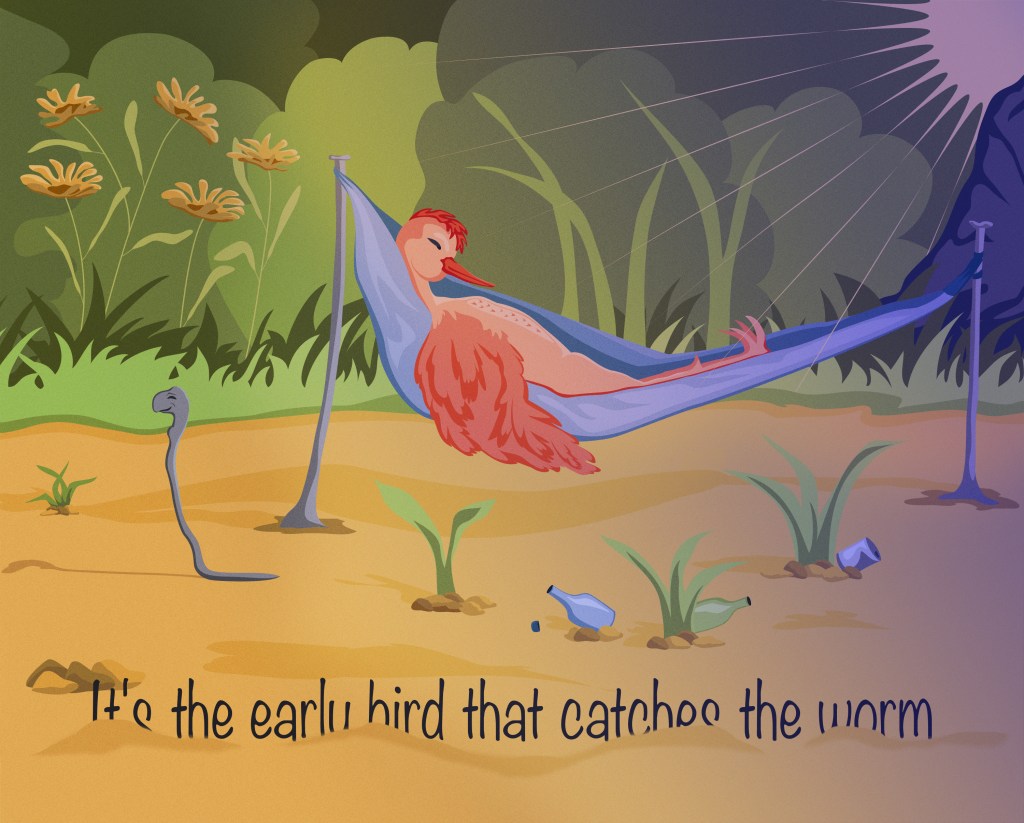
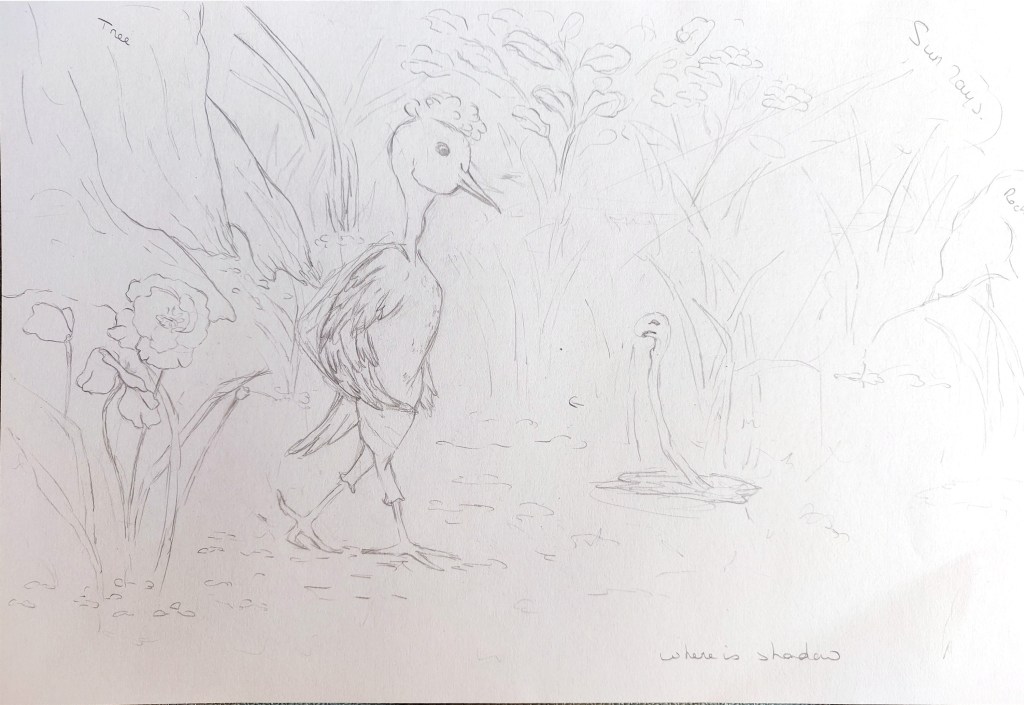
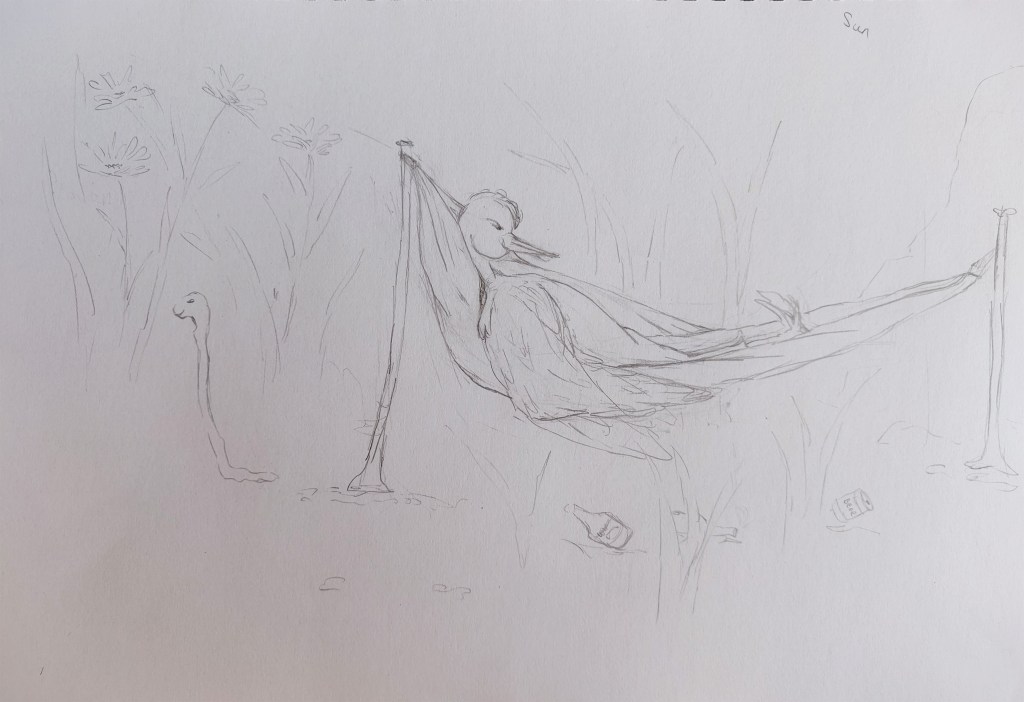
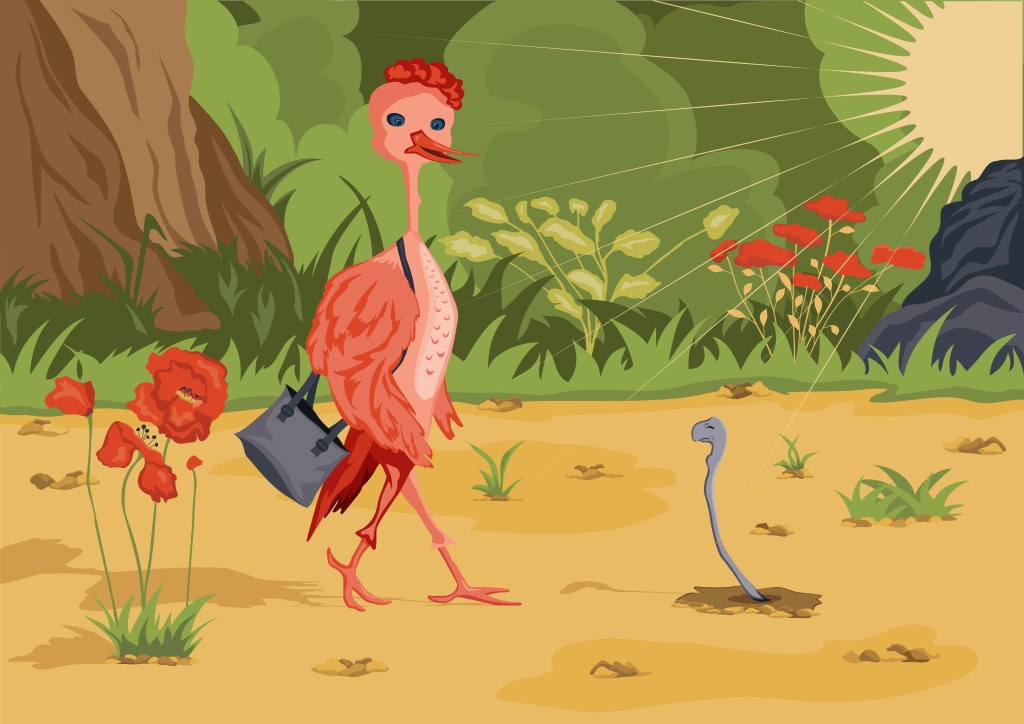
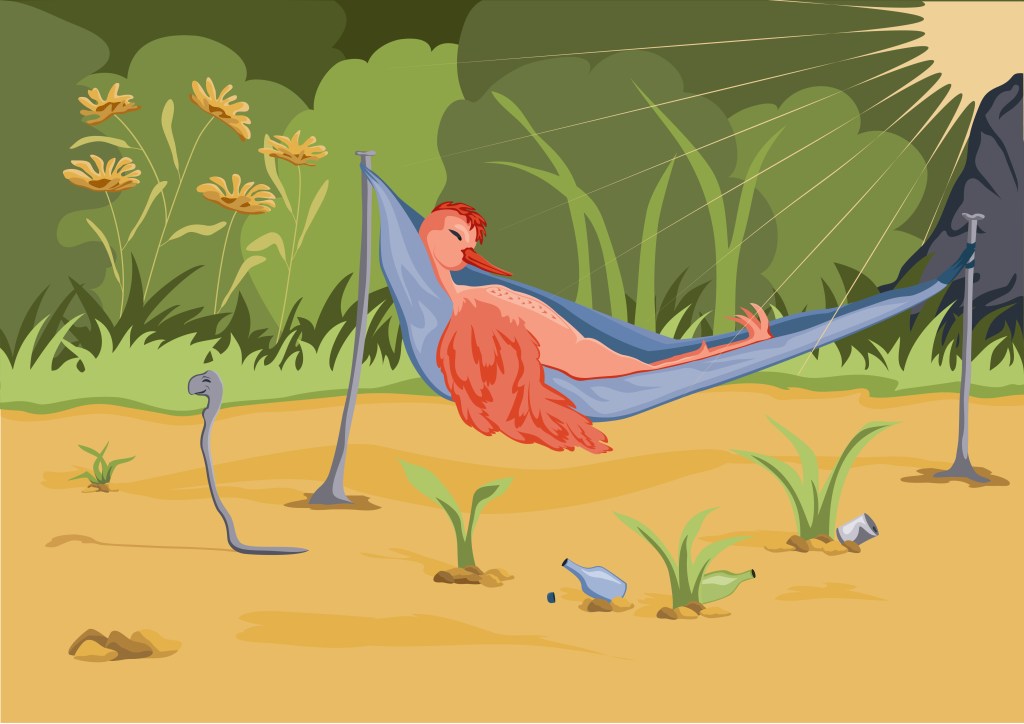
After looking at proverbs and sayings on a website dedicated to this theme (https://www.phrases.org.uk/index.html), I selected the saying “It’s the early bird that catches the worm”: This phrase can be viewed as a positive advice: the person who gets up early achieves more. However, it also contains a warning: someone who gets up late is considered as lazy and will be left behind.
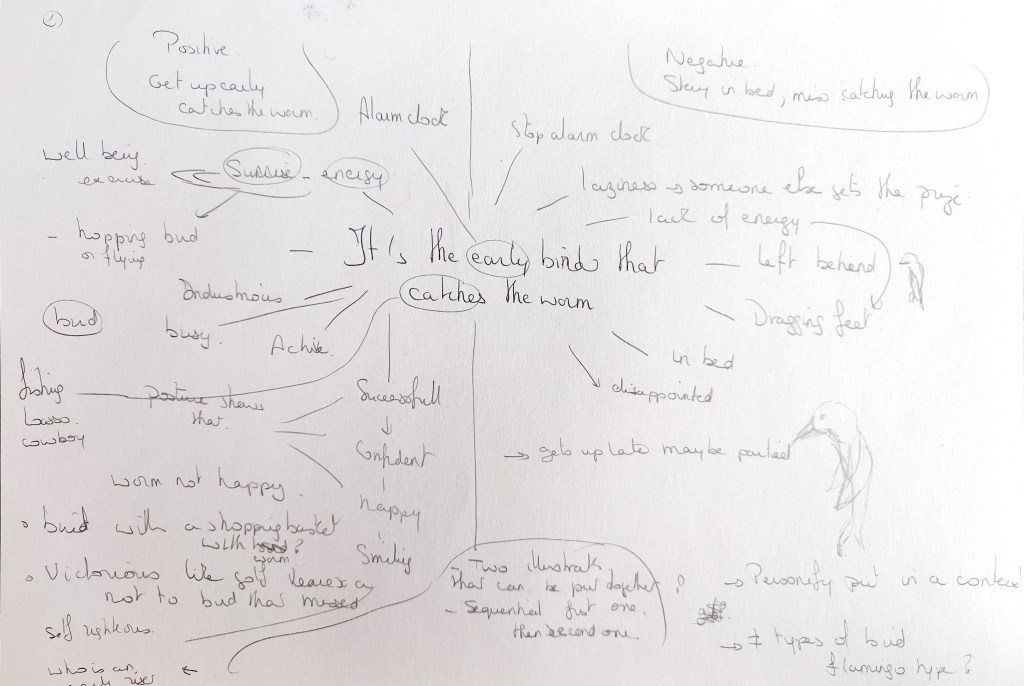
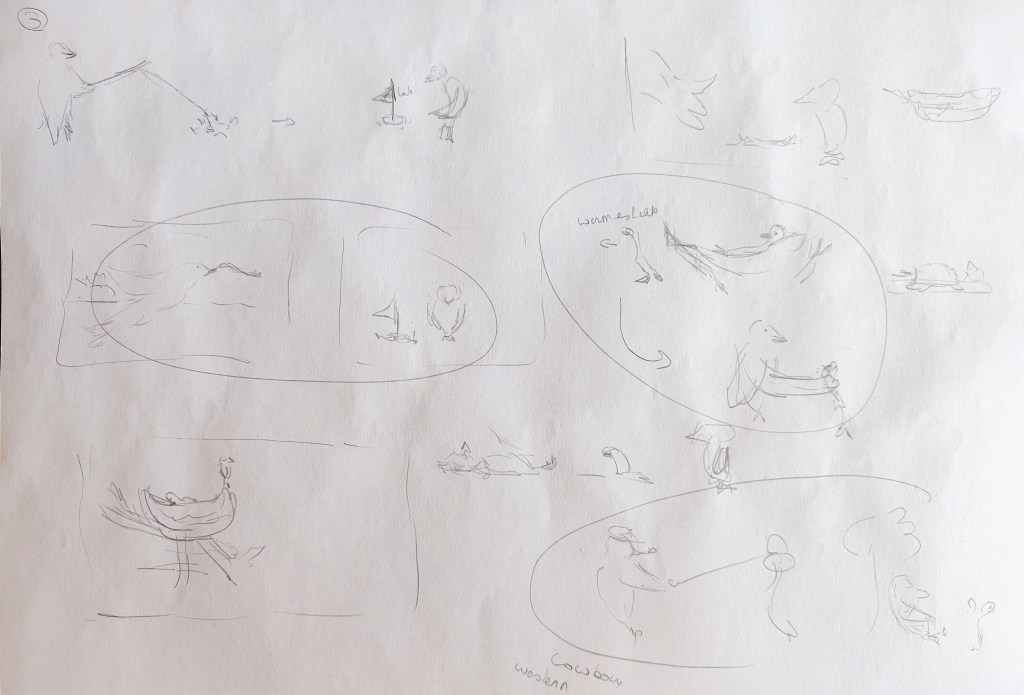
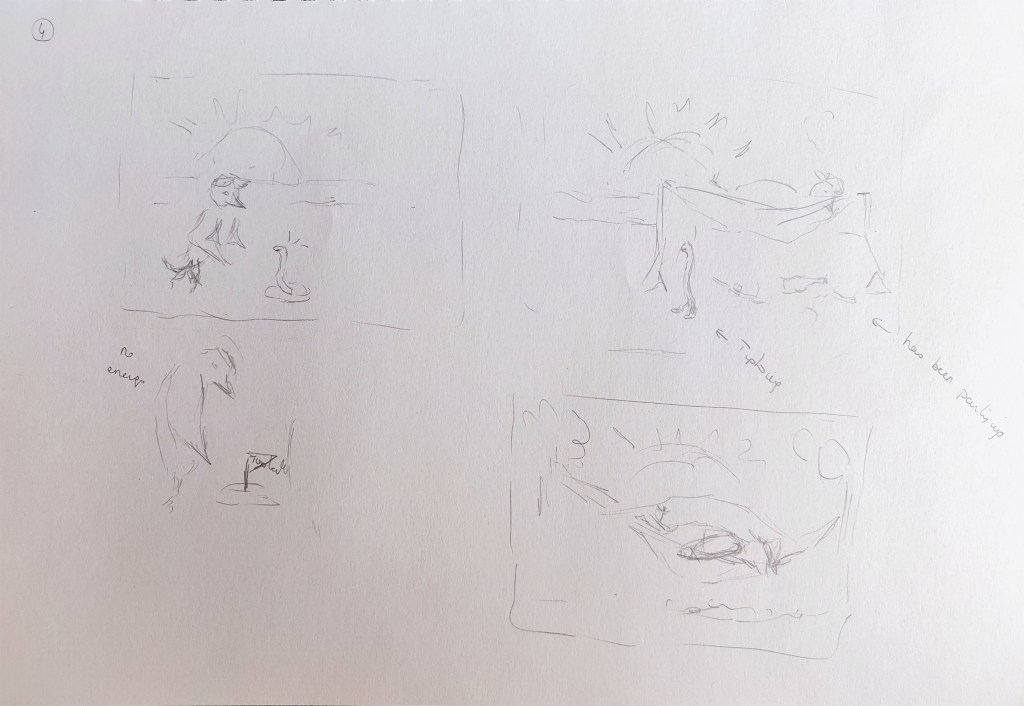
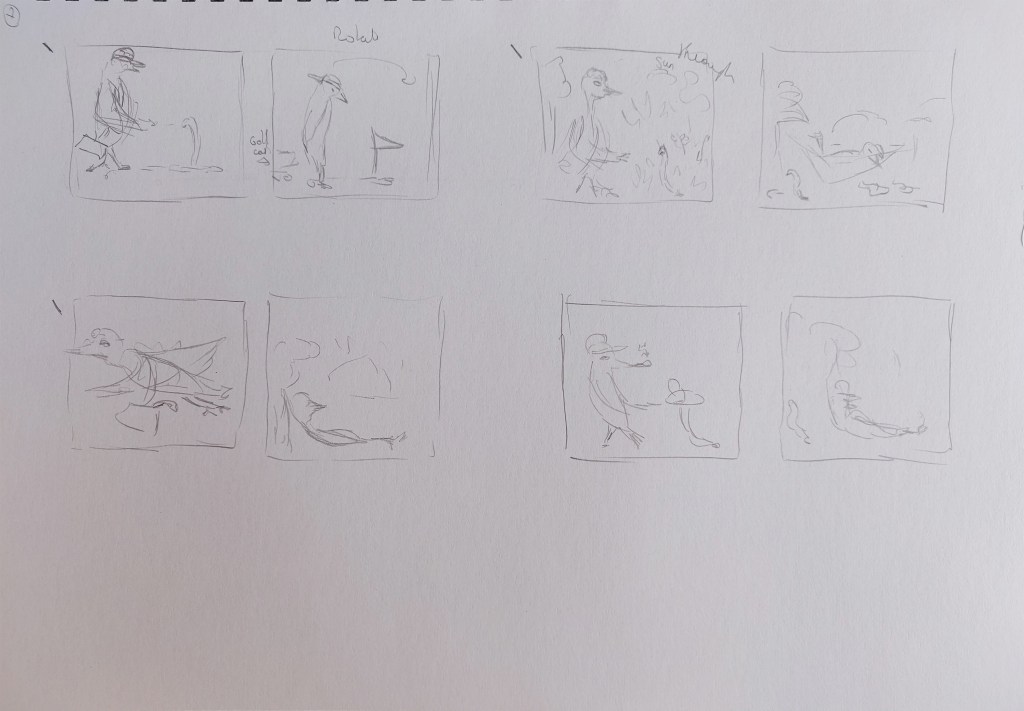
I created a mind map in my sketchbook and explored various ideas, wondering how I could illustrate a dynamic bird versus the opposite. At that stage, I did not know how realistic or cartoony the birds would be.
I searched on Google for photos and drawings of birds and the way others had illustrated this saying in the past. I also revisited the website of Therese Larsson as I like the way she illustrates animals (http://www.sillybeastillustration.com/gallery/commercial/metro/). I remembered that she had created a series of images with birds and was curious to see how she drew her characters.
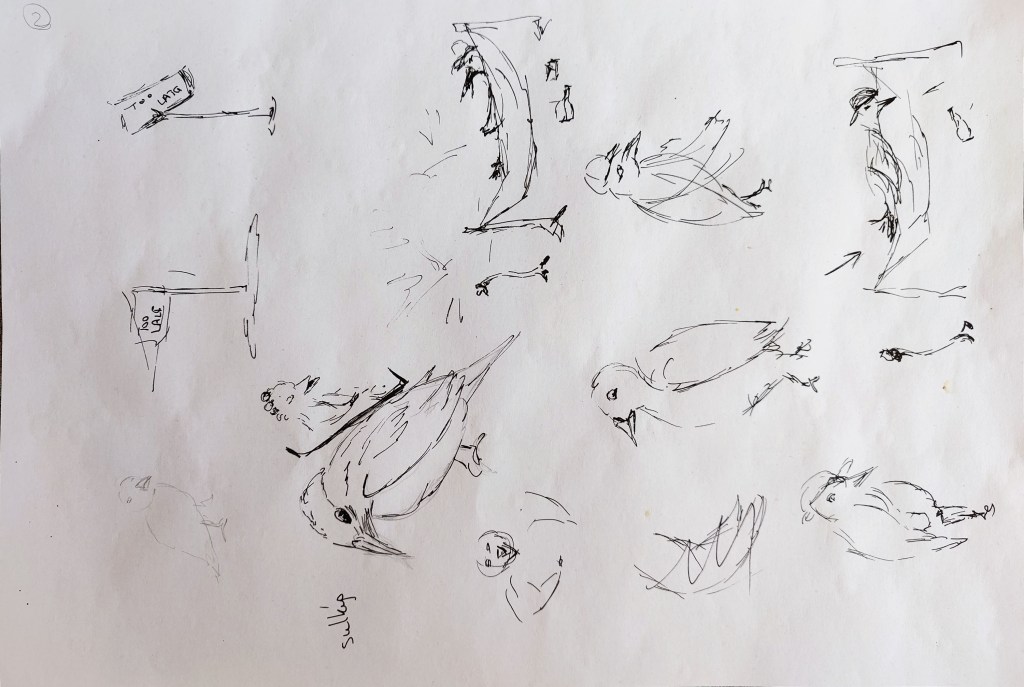
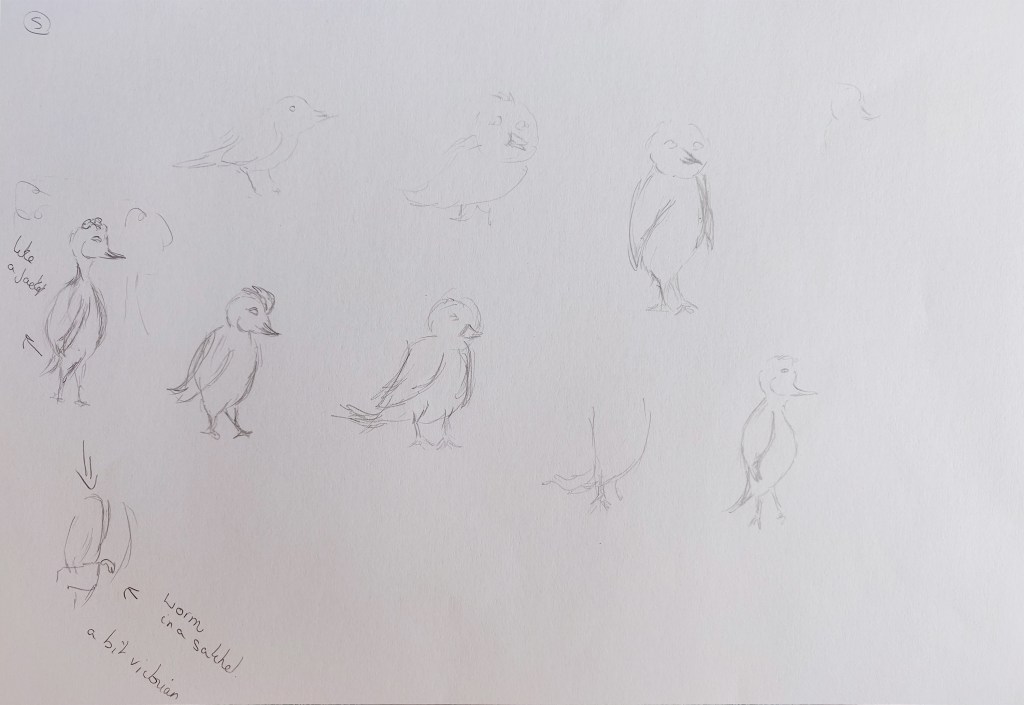
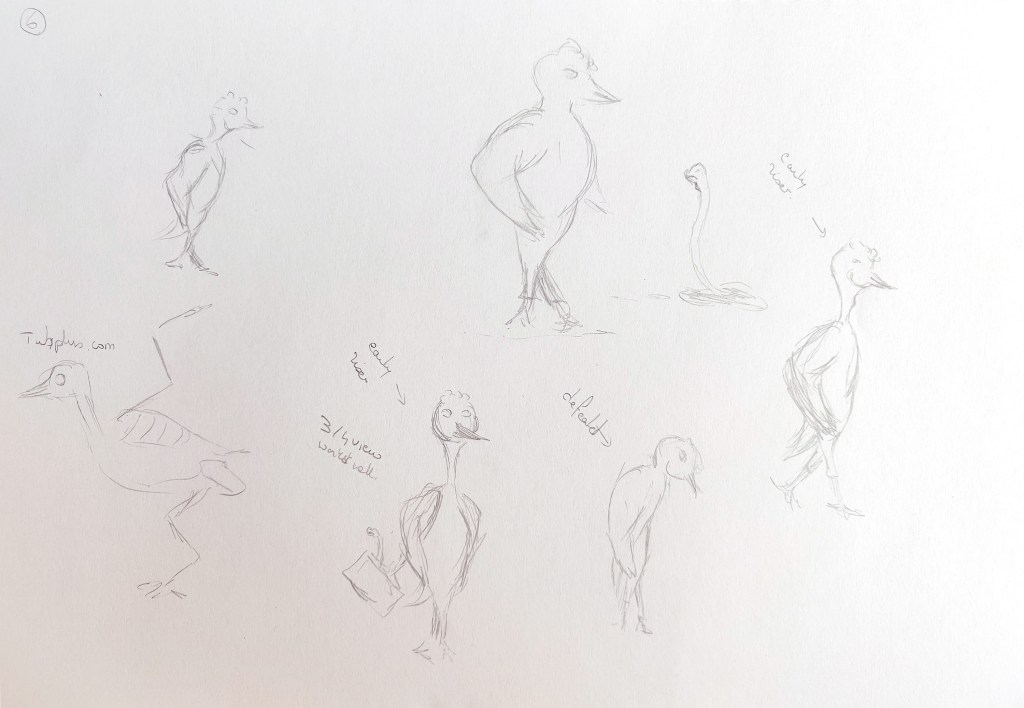
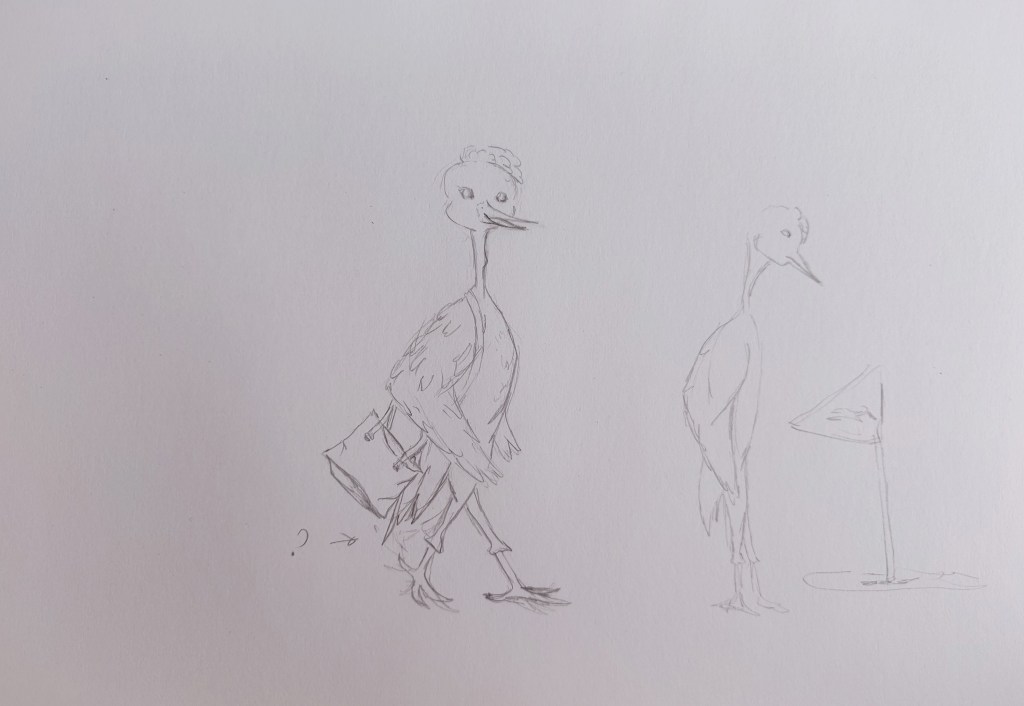
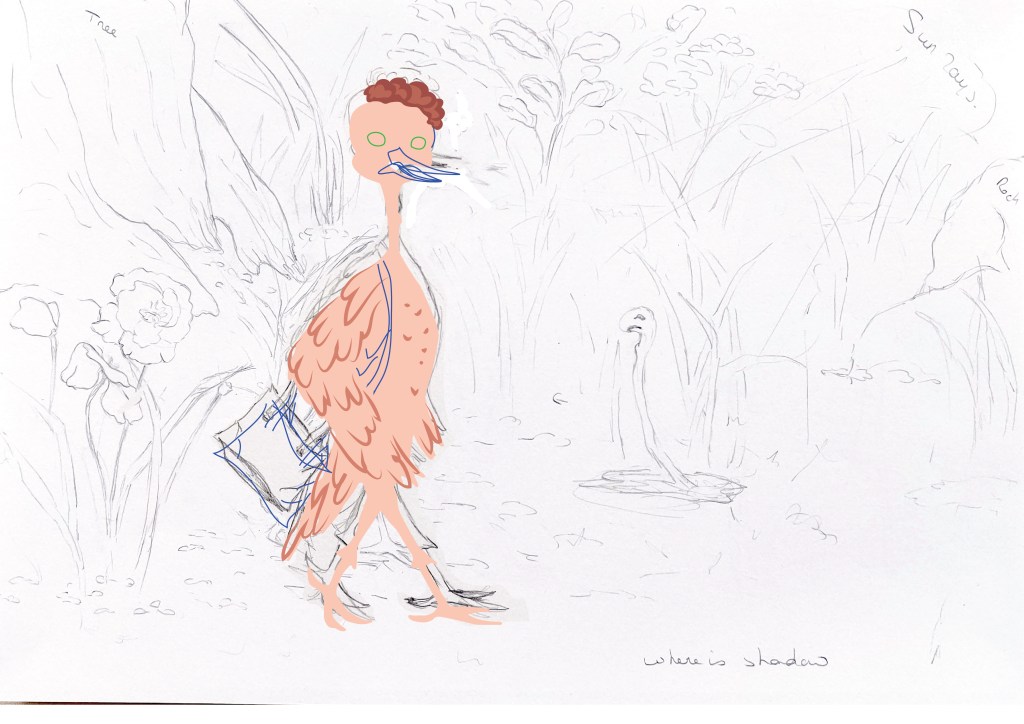
I sketched birds until I could visualise what the main characters would look like. While doing so, I revisited a tutorial on tutsplus about birds and their anatomy (https://design.tutsplus.com/articles/how-to-draw-animals-birds-their-anatomy-and-how-to-draw-them–vector-21871). Understanding the anatomy was important to give some “bird qualities” to my characters even if they were not realistic representations of the animal.
Once I had some sketches I could use as a basis for an illustration, I started visualising the kind of style that would work. I wanted to create digital illustrations but was not sure of how detailed they should be and if they would be vector illustrations or painted with more texture in Photoshop.
I looked at different styles on the Internet and collected a few examples of illustrations on Pinterest.
Initially I tried to colour the illustration in Photoshop but I decided that I did not have the necessary tool to create the type of illustration I wanted (painted in Photoshop with texture). I have an old basic Wacom tablet that I will upgrade soon. It should make it easier to explore painting in Photoshop. Instead, I decided to work in Illustrator. I enjoy working with this software and it is easier to control the paths with the tablet I use at the moment.
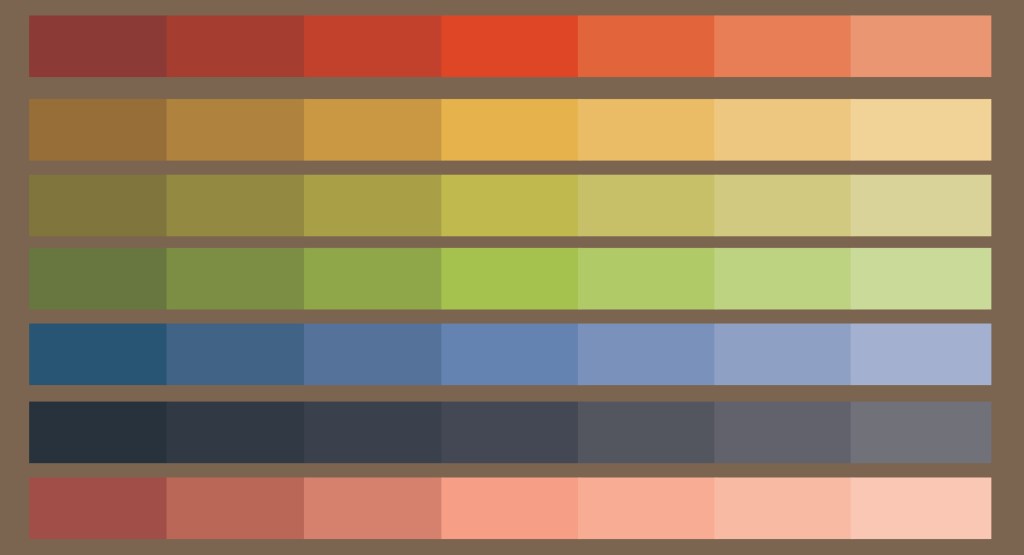
I created a colour palette with a fairly wide range so that I could illustrate several aspects of nature. At the same time, I tried to keep it fairly simple (even if I decided to have two types of green) so that I could have both contrast and consistency.
Below is the initial colour palette (that I adjusted a bit as I went along) and some snapshots of the work in progress.
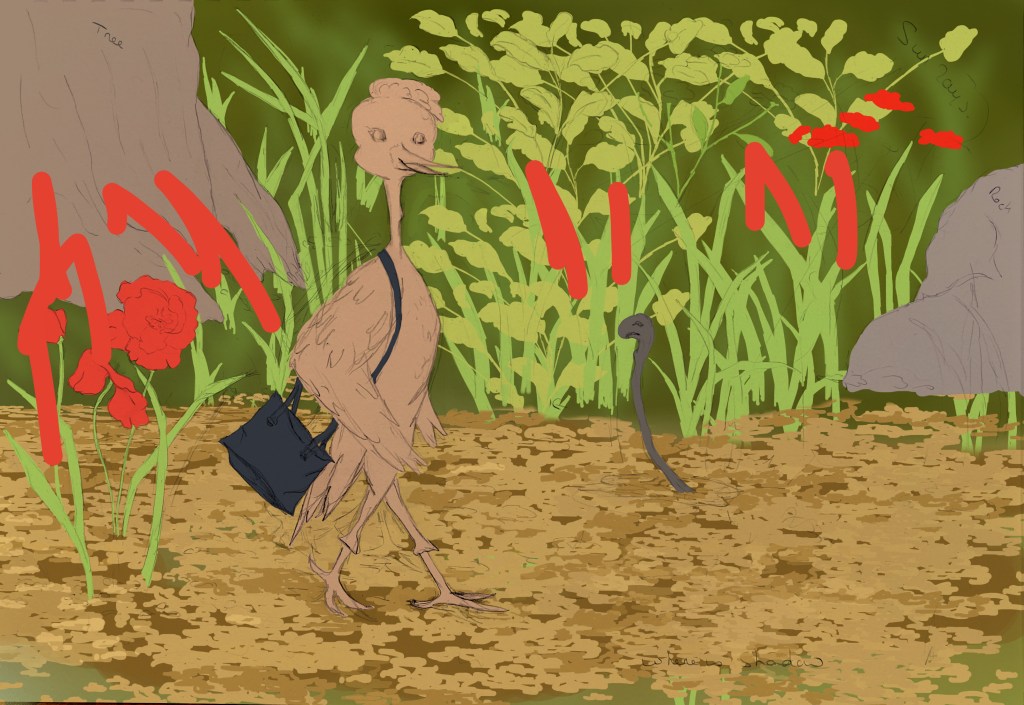

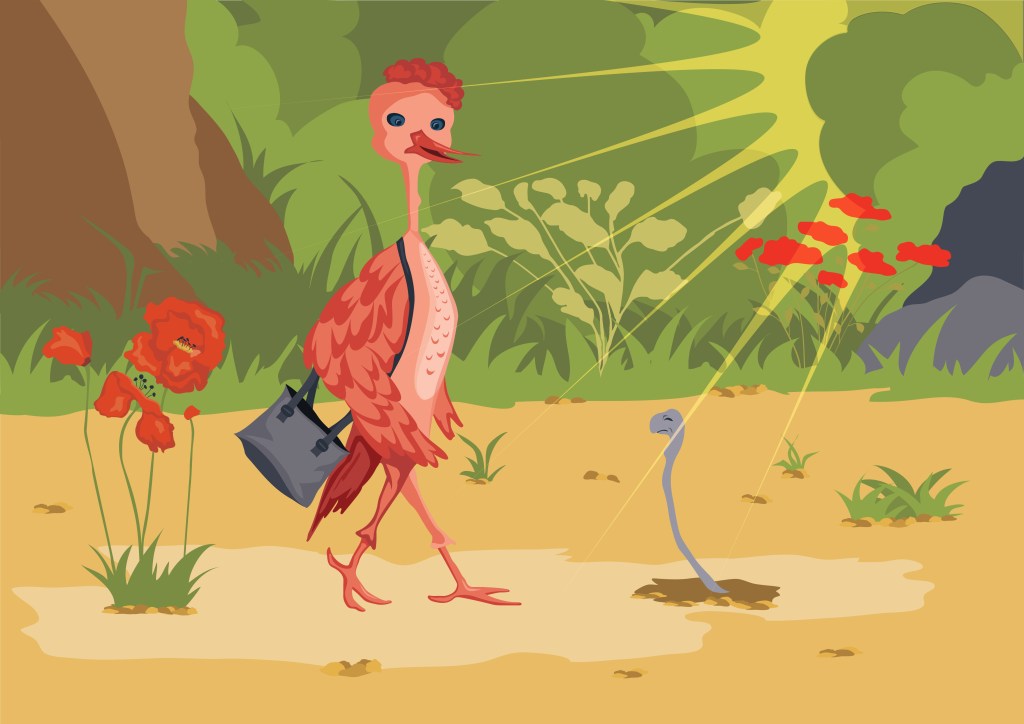

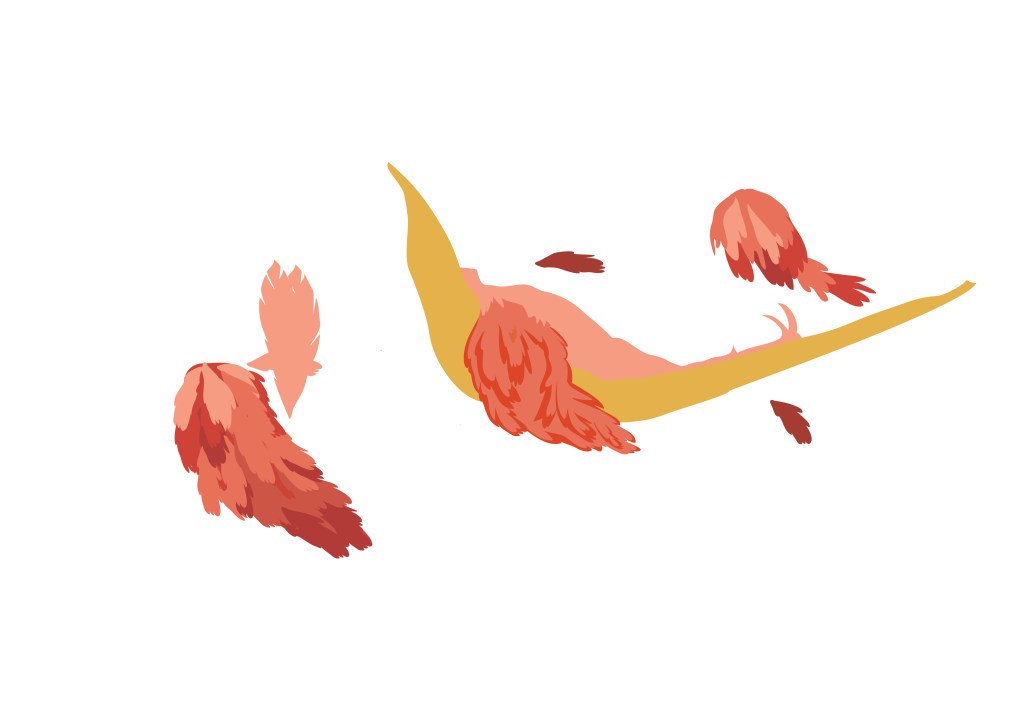
Below are the two final images in Illustrator.
I then put the illustrations in Photoshop and played with the lighting and texture. I tried to have the text in various positions and cropped the first illustration differently to see if it would work better.
I experimented with different typefaces. My favourite was a classic typeface Baskerville and I ended up using that one. I wanted something a bit traditional and a serif typeface seemed more appropriate. I considered selecting a script typeface but when I experimented with a few, I thought it took attention away from the illustrations and did not look polished enough.
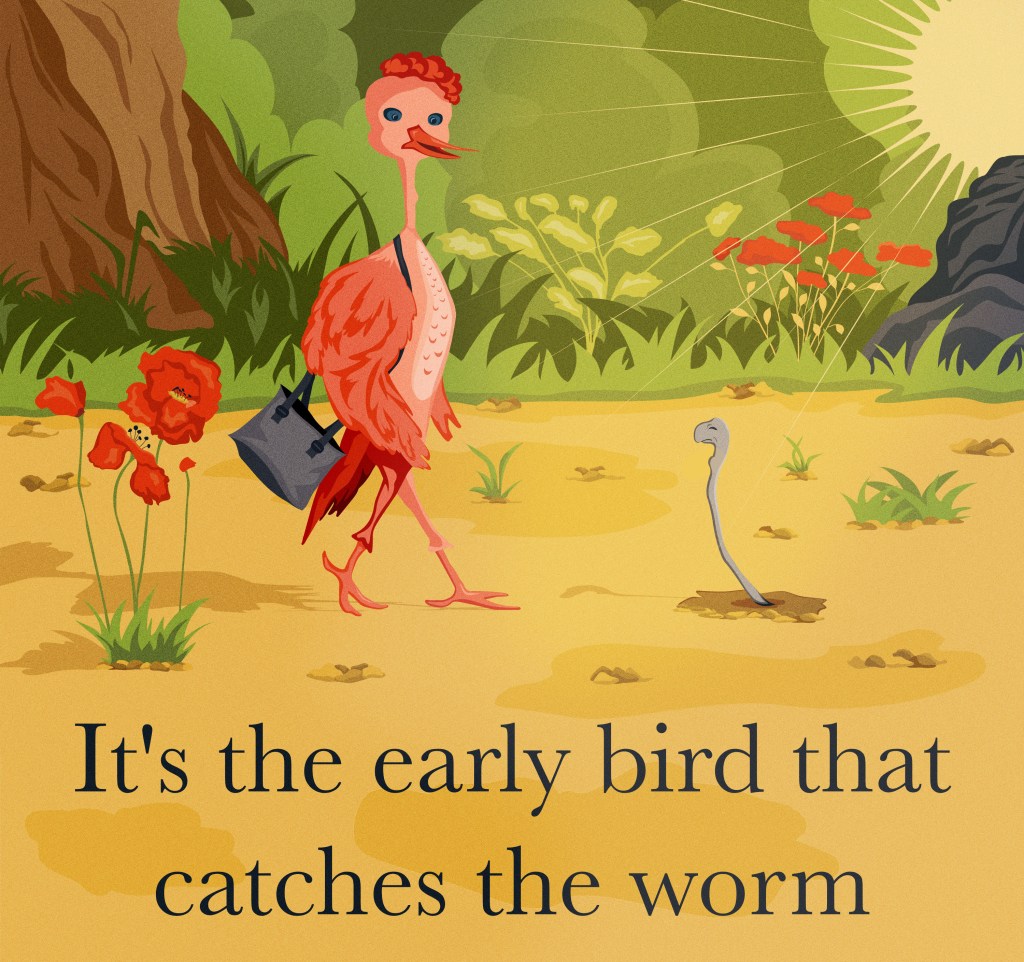
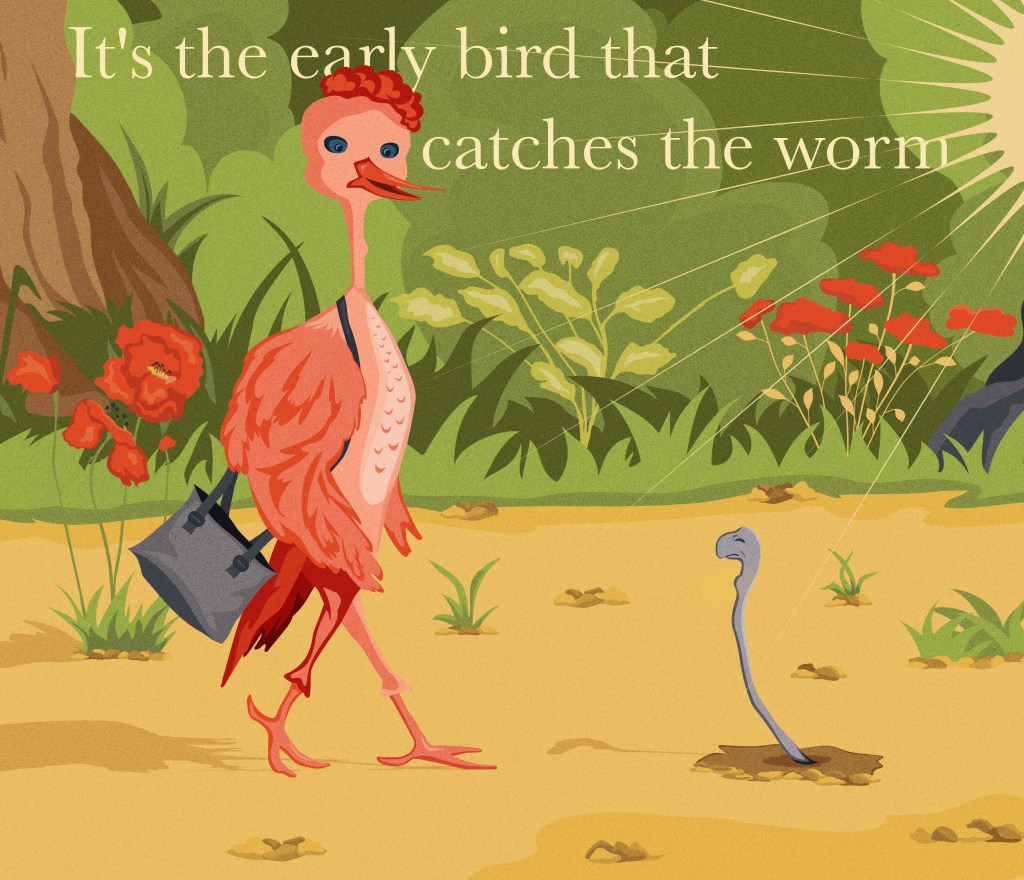
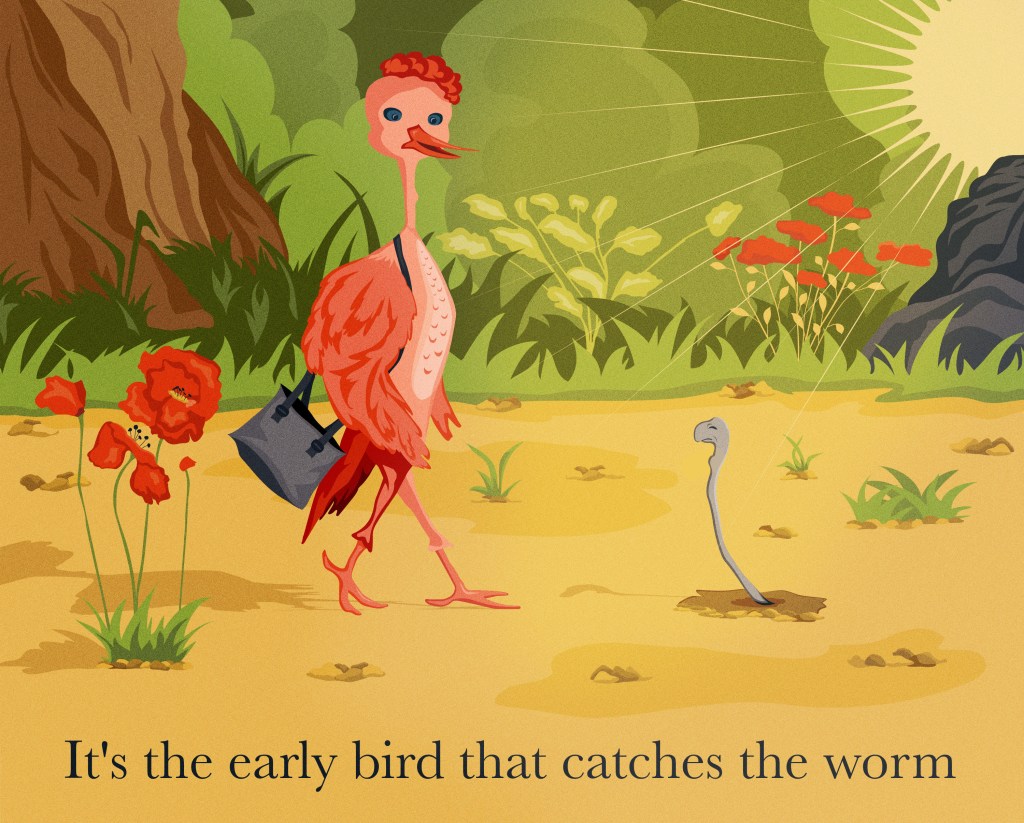
I liked the text at the top of the illustration but it did not work so well with the compositions. It would have worked better if I had created more space at the top. When I looked at the outcome, I thought that the text could be smaller as the images spoke for themselves. Below are the two final illustrations.

What went well
I like the idea that both illustrations are part of a set. Viewed side by side, we could imagine the worm leaving one illustration to walk into the other one and meet the bird.
At first, I struggled to draw the bird character but I persisted and I am pleased that I did. I was inspired by photos of flamingos I took while in Camargue in south of France.
I had to adjust some of the colours as some lacked saturation but, all in all, I managed to use the initial colour scheme and I am happy with the outcome.
Challenges
Creating the background was quite challenging as, so far, I have often created characters but not included the whole surroundings. Although I enjoy creating a whole scene around the two main characters, I would like to improve on that and add more details in the future.
I wondered about the position of the text and the cropping of the images. If I had cropped the illustrations differently, that might have put the emphasis on the bird and the worm more successfully. However, once the illustrations were created, it was difficult to modify the elements and crop the images. It might be something to take into account when I create illustrations. I should stop at different stages to reflect on the alternatives.
My characters are getting more dynamic compared to previous characters I have drawn but I still could improve that aspect further. However, it is not so easy to keep the energy in the lines when drawing shapes in Illustrator.
What I learned from this exercise
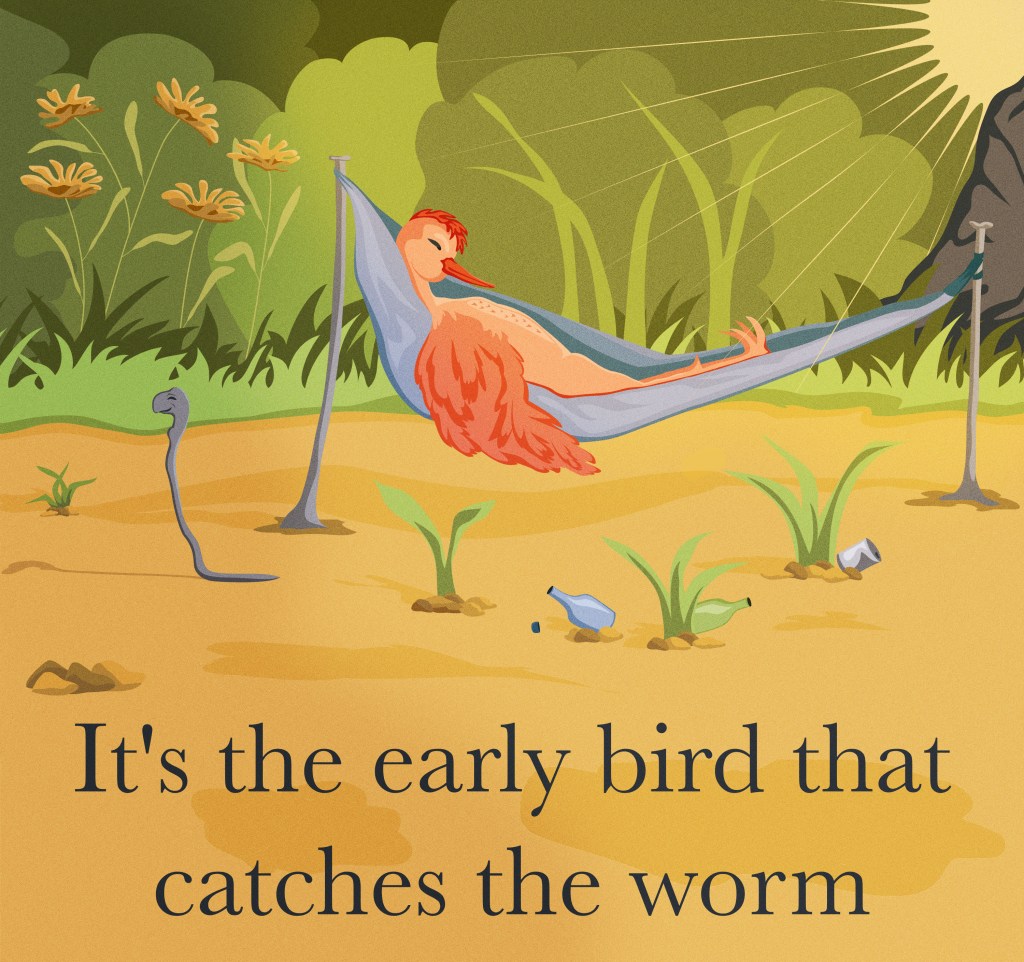
It was interesting to create two images seen from a different perspective although they have in common to be playful, so the second one illustrate the warning element with humour. However, this gave me the opportunity to reflect on how I could use the body language, the expression of the characters and the plot to communicate a different message. I opted for the same colour palette to keep them as a set, but, in a different context, I could have used the colour palette and the lighting to make the second one more sombre.
Edits
After reading my tutor’s feedback, I wanted to play with the colours of the second image to enhance the negative side. I found it difficult to create a different colour palette at that stage but I tried to make the colours colder on the right hand side of the image to highlight the negative consequences for the bird. On the other hand, I kept the colours warmer on the left hand side as this is a positive outcome for the worm.
It was difficult to change the colours at that stage and I am not sure that it works. However, this experiment has helped me to reflect on how I could have chosen my colour palette differently. It would have been interesting to create two complementary colour palettes at an earlier stage of the process to have more contrast between the two images while keeping some cohesion.
I also experimented further with the typography to see how the text could be part of the composition. In the first image, the text is bouncing on the ground, while in the second image, it is sinking in the ground. Again, it would have been better to consider the typography at an earlier stage. However, it was an opportunity to think further of ways to integrate the typography in the general composition and see it more as part of the illustration.
Below are the two revised illustrations.